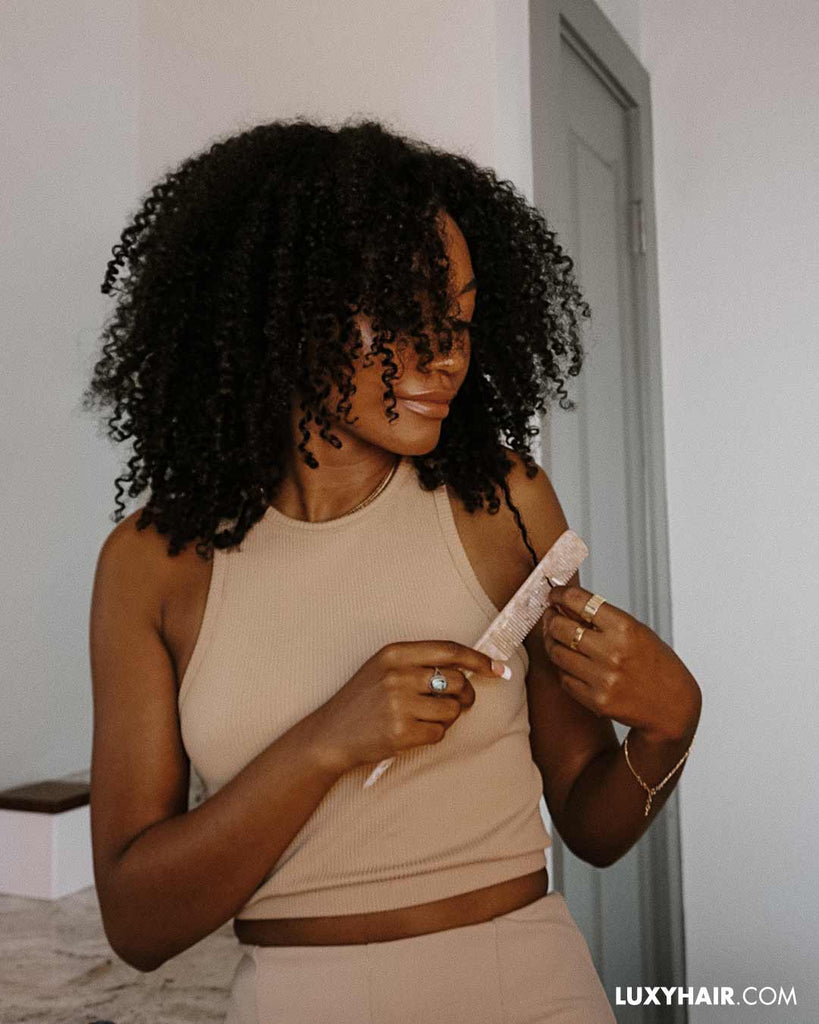
Would you like to trim or cut curly hair from home but are not sure where to start? As much as it is always advisable to get it done by a hair professional, there are many reasons you may opt to do it yourself.
Cutting curly hair is different from cutting straight hair. Some hair stylists may not know how to cut curly hair and leave you with an uneven look. If you have experienced this before, then you know how frustrating it can be. Hair stylists who specialize in curly hair also tend to charge more which can make a salon trip an expensive affair if you are on a tight budget.
Whatever your reason might be, here are some tips on how to trim or cut your curly hair from home.

Trim vs Haircut, What Is The Difference?
Before we get into more details on how to cut curly hair, you need to understand the difference between a trim and a cut. A haircut refers to cutting hair for styling purposes. It involves the removal of hair in a specific pattern to achieve a specific style. Here are some hairstyle ideas for curly hair if you need some inspiration.
On the other hand, a trim is done for maintenance and only an inch or two of hair is cut off. It’s done to maintain the current hairstyle and cut off split ends. A trim every three months or so keeps the hair looking vibrant and healthy.
Is It Better To Cut Curly Hair Wet Or Dry?
As a beginner, it is better to cut curly hair dry. Unlike straight hair, curly hair behaves differently depending on whether it is wet or dry. As a result, cutting wet curly hair might lead to an uneven cut since you can easily cut off more than you intended to.
What Cut Is Better For Curly Hair?
There is no one-size-fits-all when it comes to curly hair. The best cut depends on the shape of your face and the type of curls you have. That said, the most common types of cuts are a shoulder-length cut, a bob cut, and a layered cut.
Should Curly hair be cut in Layers?
Cutting curly hair in layers gives a lighter more defined look. The outcome of layering varies depending on the type of curls, type of cut, and hair density. All in all, the decision to cut your hair in layers depends on your personal preferences and the style you want to achieve.
Tips on How To Cut Curly Hair At Home
You’re probably hesitant about cutting your curly hair at home. I mean, what if you mess up? What if you end up with a horrendous look? Well, here are a few tips that will help you out.
1. Schedule Time To Cut Your Hair
First things first, you need to set aside a reasonable amount of time to cut or trim your hair. Choose a time slot that will work for you. It could be one hour or more depending on the length and density of your hair.
Take your time. Once you get used to it, you’ll take less time. However, as a start, you need all the time you can get. Allocating a time slot will allow you to concentrate and avoid feeling rushed.
In addition, most people have two or three different curl patterns on different parts of the head. Cutting them all the same length when wet will lead to an undesirable outcome when the hair is dry.
If you want to wash your hair before trimming it, ensure that it is completely dry before you get started.
2. Get Your Hair Tools Ready
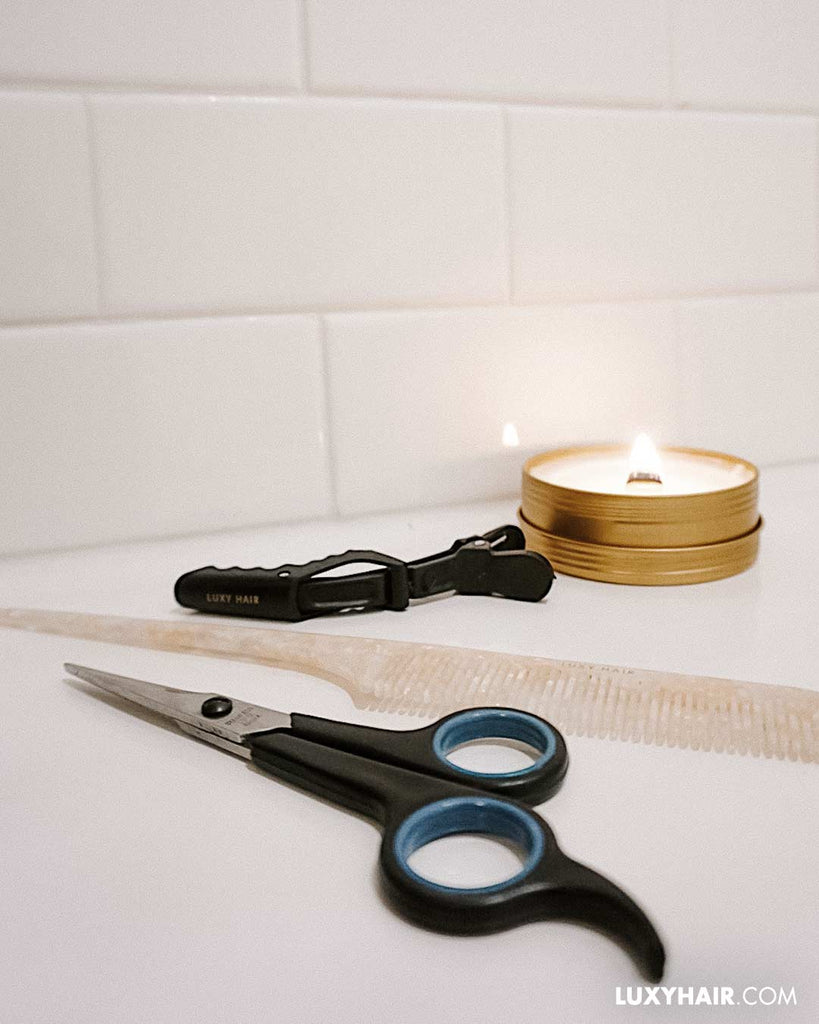
Gather everything you’ll need for this process. It’s always good to be prepared. For example, check whether you have a pair of sharp scissors. If you’re in a position to, you can even purchase a pair of professional shears. This post offers some good suggestions on scissors you can buy. Just ensure all your tools are ready.
3. Cut In Small Bits
When you start trimming, cut off small bits at a time. Start with half an inch all around. Remember, if you don’t like the outcome, you can always cut a bit more later. However, if you cut too much, you’ll have to wait longer for the hair to grow back.

Tools you Need To Cut Curly Hair
You will need the following tools to cut your hair:
- Two mirrors
- A brush or comb
- A pair of hair scissors
1. Two mirrors
Why do you need two mirrors? Well, you need to see the second mirror to see the back of your head. Since most of you already have a wall mirror, the second one can simply be a compact mirror. It will help you see the progress of your haircut at the back of your head so you end up with a finished look that you are happy with.
2. A Comb And Hairbrush
There are different types of combs and hairbrushes for different purposes as seen in this hairbrush guide. To cut your curly hair, you’ll only need a comb or brush that you can use to part your hair into small sections.
3. A Pair Of Hair Scissors
Ensure you have a pair of sharp scissors at hand. The sharper the hair scissors, the cleaner the cut will be. Don’t use the ones that you cut fabric or paper with. We recommend getting a pair of scissors that are designed for cutting hair.

How to Trim Your Hair from Home – Step By Step
Here are the steps to follow when trimming your curly hair from home.
Step One: Get Your Hair Ready
As we mentioned earlier, we’ll be working with dry hair. This is the best option for beginners. Style your hair the way you normally wear it. This will give you a clear picture of what you want to achieve.

Step Two: Start with the Front
Start by trimming the front part. This includes the bangs. Take a small section of hair, about half an inch, and comb it to the front. Cut off about half an inch. Take another small section and repeat the same until you’re done with the front side.
Alternatively, you can pick out each curl and trim off the split ends that are sticking out.

Step Three: Work on the Back
Now that you’re done with the front part, proceed with trimming the back section. This can be tricky since you can’t see what you’re doing.
If your hair is long enough, tilt your head slightly to the left to have a better view. Next, work with one-inch sections of hair. Brush them to the front and cut off half an inch. You’ll need your contact mirror to constantly monitor your progress. Once you’re halfway done, tilt your head to the right side to get the other half done.
For shorter hair, brush your sections upwards for you to see what you’re cutting. You might need to tilt your head forward.
Remember, patience is key. Work in small sections until you’re done. If your arms get tired, you can take a break and pick up where you left off. Just make sure you know where you stopped.
Step Four: Even things out
Once you finish your entire head, go ahead and trim the few curls that are out of place. Keep in mind that we’re doing small bits at a time. Fluff out your hair and the curls settle back to their place.
It is important to note that your hair might look a bit strange at first. Curls behave differently after being cut. Some of them get distressed and might take a day or two to return to their original form.
What Next After Trimming Your Hair?
If you’re not satisfied and feel that you need to trim off a bit more, don’t do it immediately. Give your hair two to three days. By this time, your curls will have resumed their regular curl pattern and you’ll have a clear picture of the outcome of your trim. This is when you can trim off another half an inch or so if you’re still not satisfied with your initial trim.

Once you’re satisfied with the outcome, it is time to style your hair. You can even switch things up by adding hair extensions and using a loop brush like this one to blend them in with your hair. The possibilities are endless.
Conclusion
Giving your hair a trim at home is not complicated. All you need is a good pair of scissors, a brush, and a little patience. You can do it!
Looking for more hair advice and styling tips? Subscribe to our newsletter to step up your hair game.